
Being an artist, you’re driven to create content - and setting up an online store for your music, right on your own website, is a great way to engage your fans and make money.
But selling music and merch online is easier said than done, especially if it’s not something you’ve attempted before. It requires a bit of a mind shift, from musician to musician’s-business.
Setting up a music store on your website is a worthwhile effort to help you make money from your music, so let’s look at how to get started with selecting merch, and creating your store page for best results.
1. Set up your merch store page
If you’re at the point that you’re wanting to sell your music and merch online, you’ve likely already built a website for your music. Along with that, you’ll want to create a dedicated store page where you can focus your efforts to sell your merch and music.
For the sake of ease, we suggest setting up a store page that tailors to physical products: CDs, vinyl, and band merch. Your digital downloads can be included here if you wish, but making a dedicated music page for fans is a good approach for that. If you don't have CDs or vinyl pressed yet but want to offer your fans those options, check out our good friends at Disc Makers who offer a full range of quality vinyl and CD products.
Once you’ve created a new page for your products, think about the layout and page design. Will your store contain items with lots of colorful options? A simple background with grid store layout will help show those off. If you plan to offer different types of merch, or options related to different releases, you might consider adding clear sections to the page.
Which brings us to…
2. Decide what band merch you’ll sell
Choosing what band merch to sell online in your store page takes some consideration. Merch has been the top source of revenue for many Bandzoogle members over the last few years, so creating some t-shirts, bags, hats, stickers, etc. is a good place to begin. You can also ask your fans what they’d buy, and create a couple of products with that feedback in mind.
You’ll also want to line up your current promotional efforts with your music and merch store. If you’re planning to release a new single or album, create a few items to go along with that launch. This gives you a great way to promote your music online to your fans, offering them something they can hold on to.
Selling merch on your own band website is a great way to make some money as a musician. Our Store feature is commission-free, so every sale goes back into your pocket. And your own website allows you to sell anything you want, with the goal of deepening connections with your fans. For example, you could add virtual music lessons, special one-time concerts, handwritten lyrics, transcriptions of your songs; there are no limits on your creative options.
Build a professional website in just a few clicks where you can sell music and band merch commission-free! Sign up with Bandzoogle now.
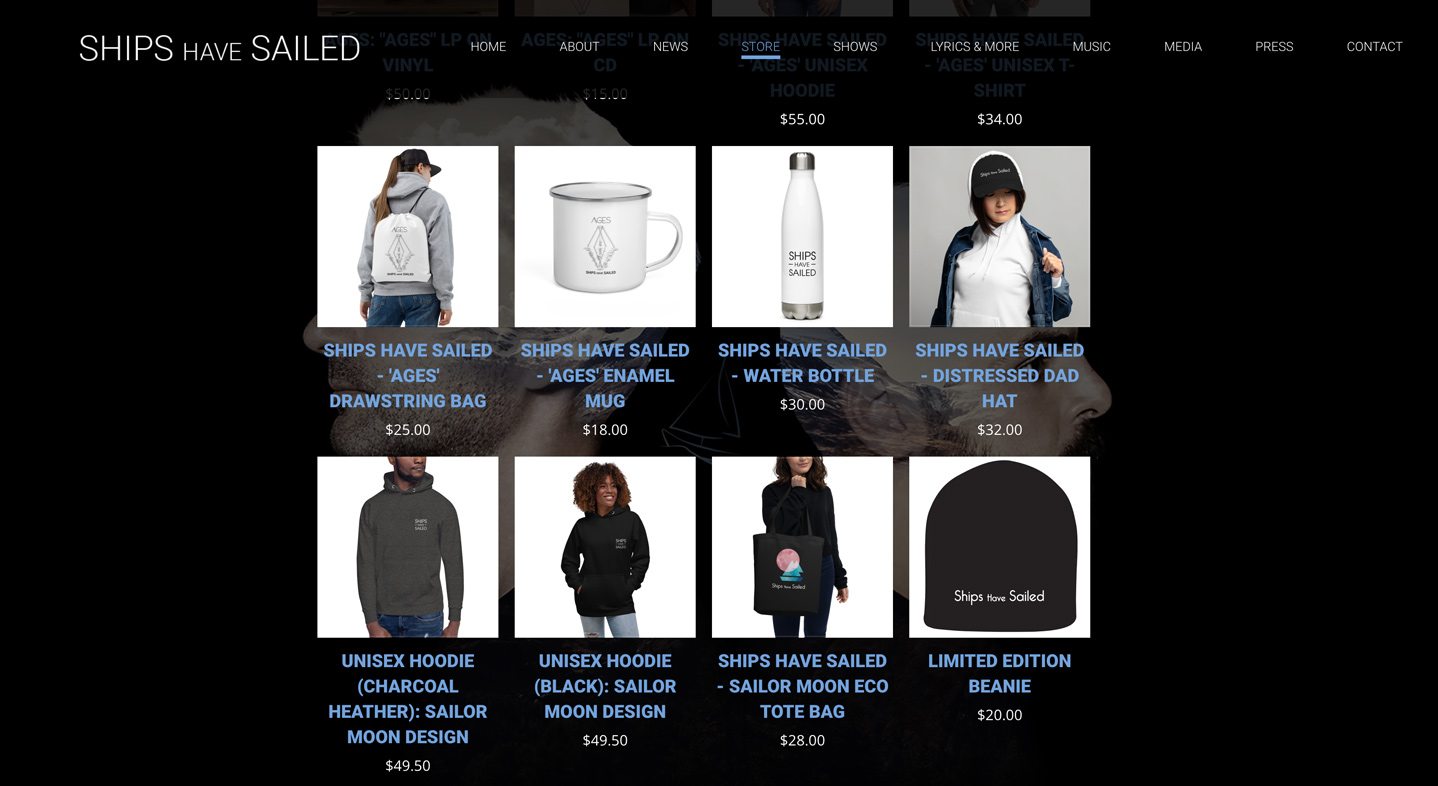
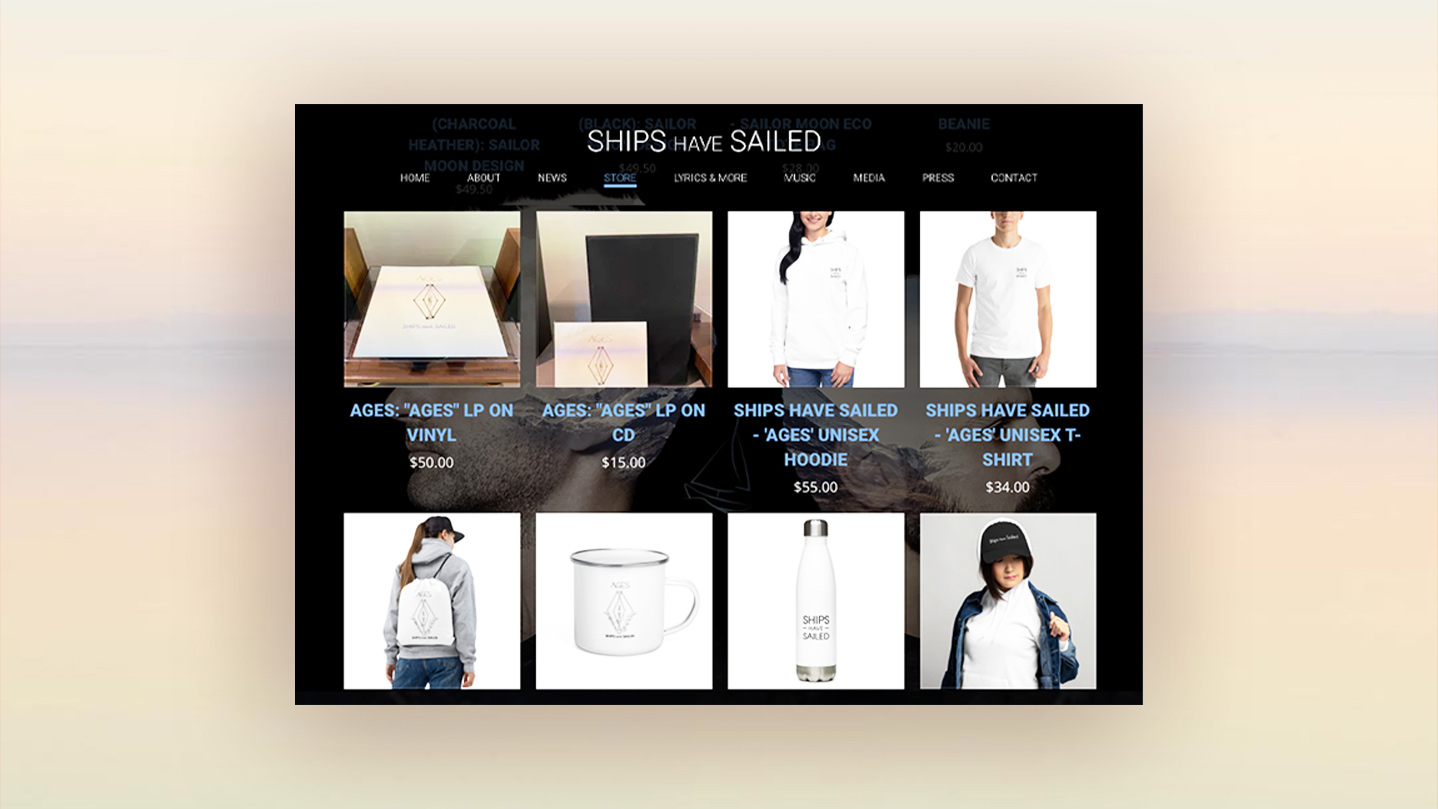
Artist store page example: Ships have Sailed
3. Consider print-on-demand merch
Print-on-demand merch is a great option to try whether you are just starting out as a musician, or, if you’ve come a long way in your career.
The beauty of selling print-on-demand merch is that you can create some options with no upfront investment or merch to store on your end. You can create products such as T-shirts, hoodies, or leggings, and just see what sells. If you are gearing up for a new album release and have dedicated fans, using print-on-demand is a great way to offer a wide variety of new merch along with your music.
To do this, set up your store page with a dedicated section for merch, create your merch products within your Printful account, and then sync the two to start selling your items. Any items you add using Printful’s print-on-demand service will integrate into your existing store seamlessly, so you can, for example, choose to complement your new vinyl release with stickers or mugs, and sell it all in one place.
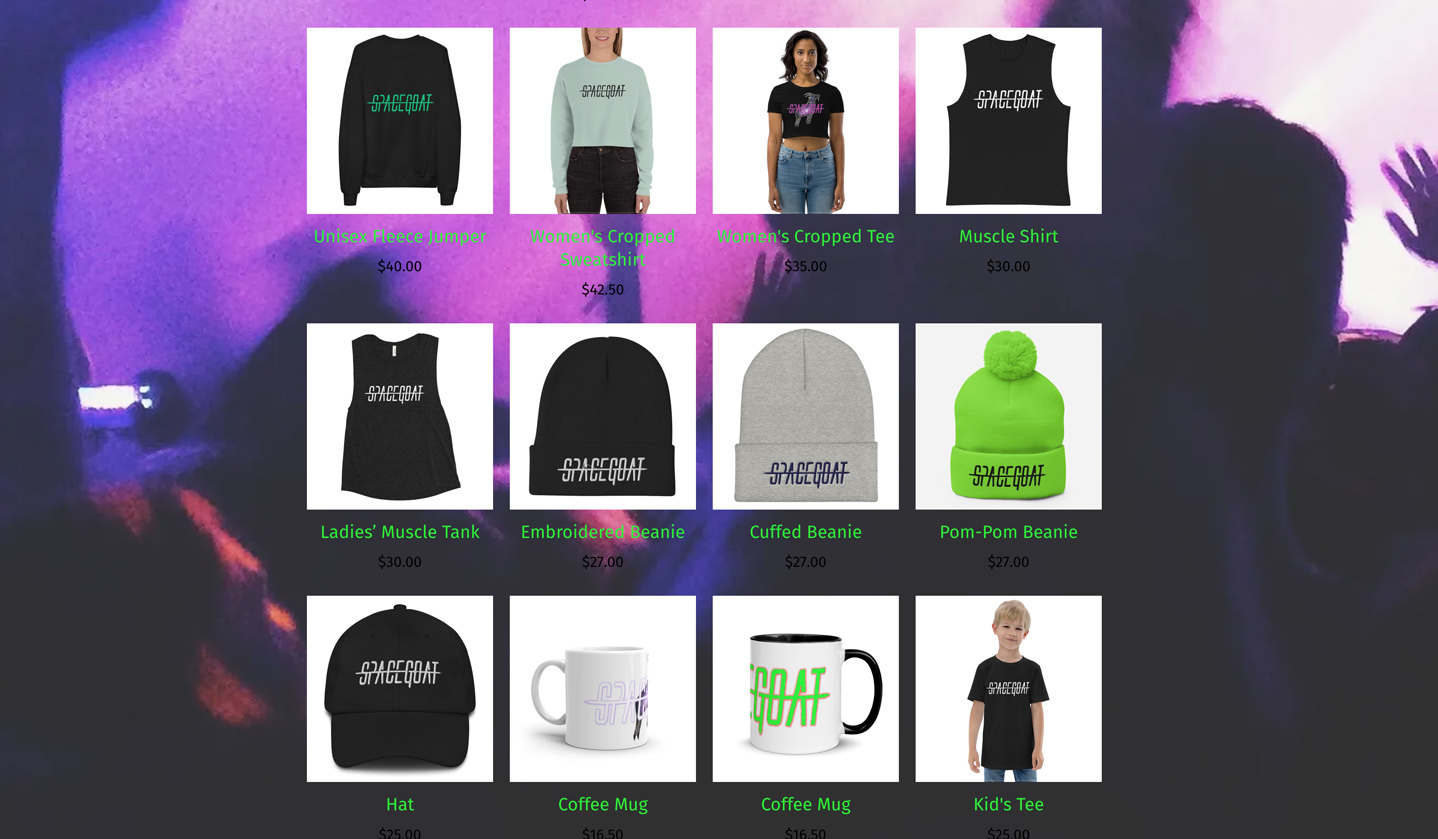
Artist store page example: Spacegoat
4. Band merch store page layout
With the variety of items and color variations they offer, print-on-demand items can pile up quickly on your store page. You’ll want to make sure your merch and music are easily accessible for your fans by setting up a layout that’s easy to navigate.
Once you’ve decided what you’ll sell, determine how you’ll organize your products on your store page. This could be all digital music together, all physical music items together (CDs, Vinyl, and so on), and all merch items together.
Or you could choose to group different releases together, especially if you have multiple versions of each product up for grabs. This could mean displaying a CD, then a signed CD, then a digital download, then a download plus bonus files, and so on. You could also group related merch (T-shirt with album cover) here.
If your store page isn’t geared around your music album-by-album, you could create sections in whatever layout makes sense for you. For example, if you are planning to sell digital files on your store page, you could group those by type (sheet music, sample packs, etc.) or release date. If you’re a record label, you could create a section for each artist on your roster.
Once you've sketched out what you’ll sell and how it fits together sensibly, determine how you’ll lay out the page to accommodate these groups of items. With a broad range of items, a grid-style layout works well. But if you’re focussed heavily on merch variations, a layout that allows for many images per item may look better and encourage your fans to buy an item and have a good idea of what they’re getting.
If you include many groups of items, you can create multiple Store features on the page, each with their own name. Then put these Store features into different sections. Each section can be styled to differentiate their place on the page.
You could also add sub-pages to your main store menu, and set those to jump down the page to a specific merch section when clicked.
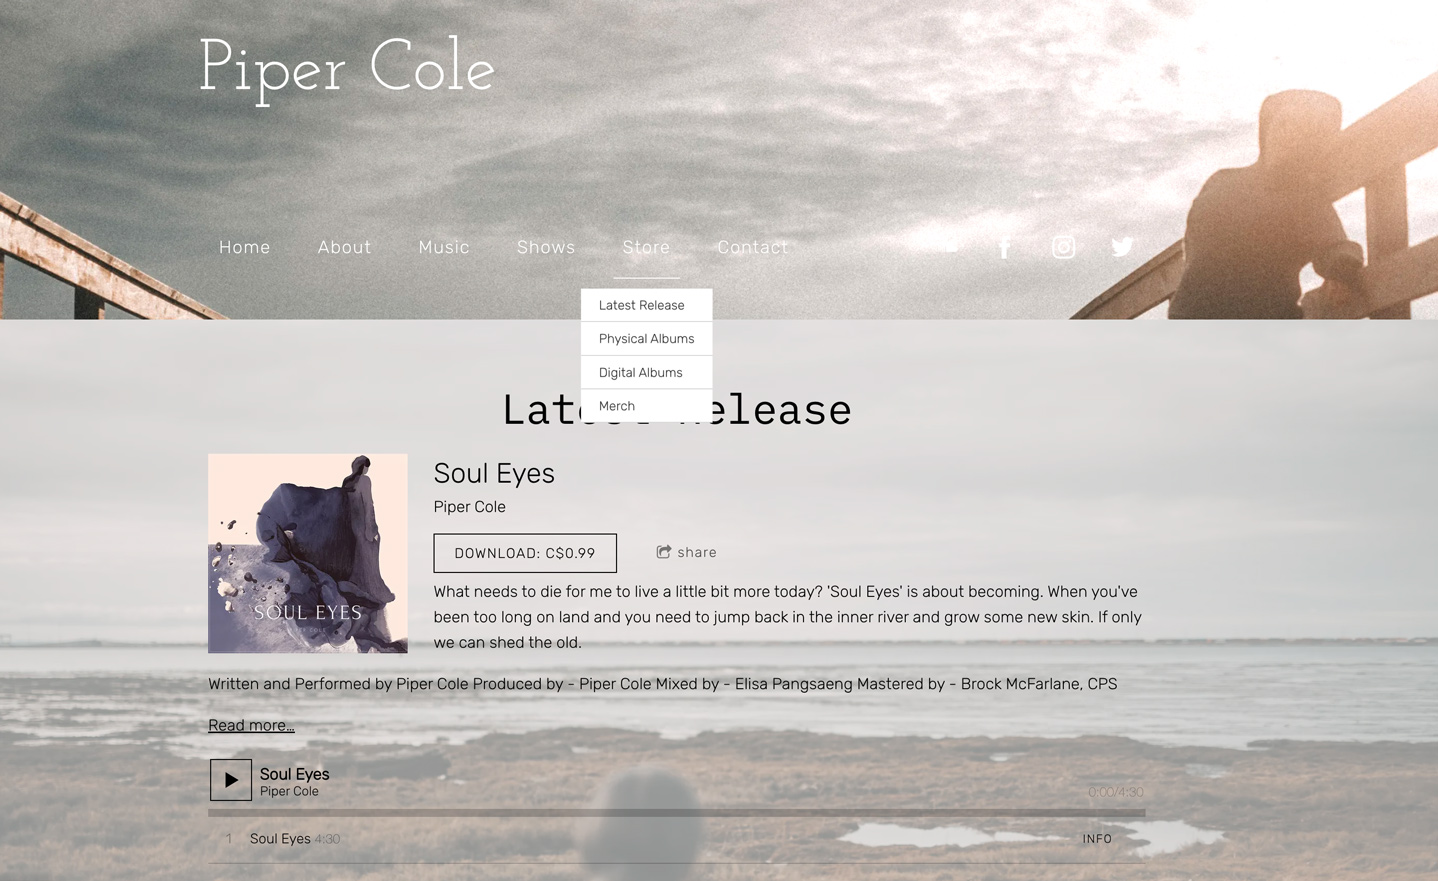
Artist store page example: Piper Cole
5. Create your store page design
Once you’ve made the decisions surrounding your products and your layout, creating a store page design will be quick. If you have a larger musician website, carry over the branding and aesthetics that you’ve used in promoting your music to date. This will make for a cohesive feel for your website overall.
If you are starting from scratch with a design, go simple: choose a website template that’s black and white to let your products stand out. If you’re adding many colorful album covers, a plain background to the page works best. If you are focusing on just one release at a time, use a color or image in the background inspired from that artwork.
For a muted, modern look, add a background image and then reduce the opacity of your image, fading it slightly so that your store products sit overtop.
If you’ve opted to add multiple Store features in dedicated sections, use a preset palette of colors to be sure that these sections are styled similarly, so they flow nicely on the page.
With whatever design you choose for your website Store feature, you’ll want to be sure that your page isn’t too cluttered. A store page needs to be clear and well organized to sell your music online successfully. This might mean swapping out available items regularly, trying a simple white background, or re-arranging products so your page isn’t too busy.
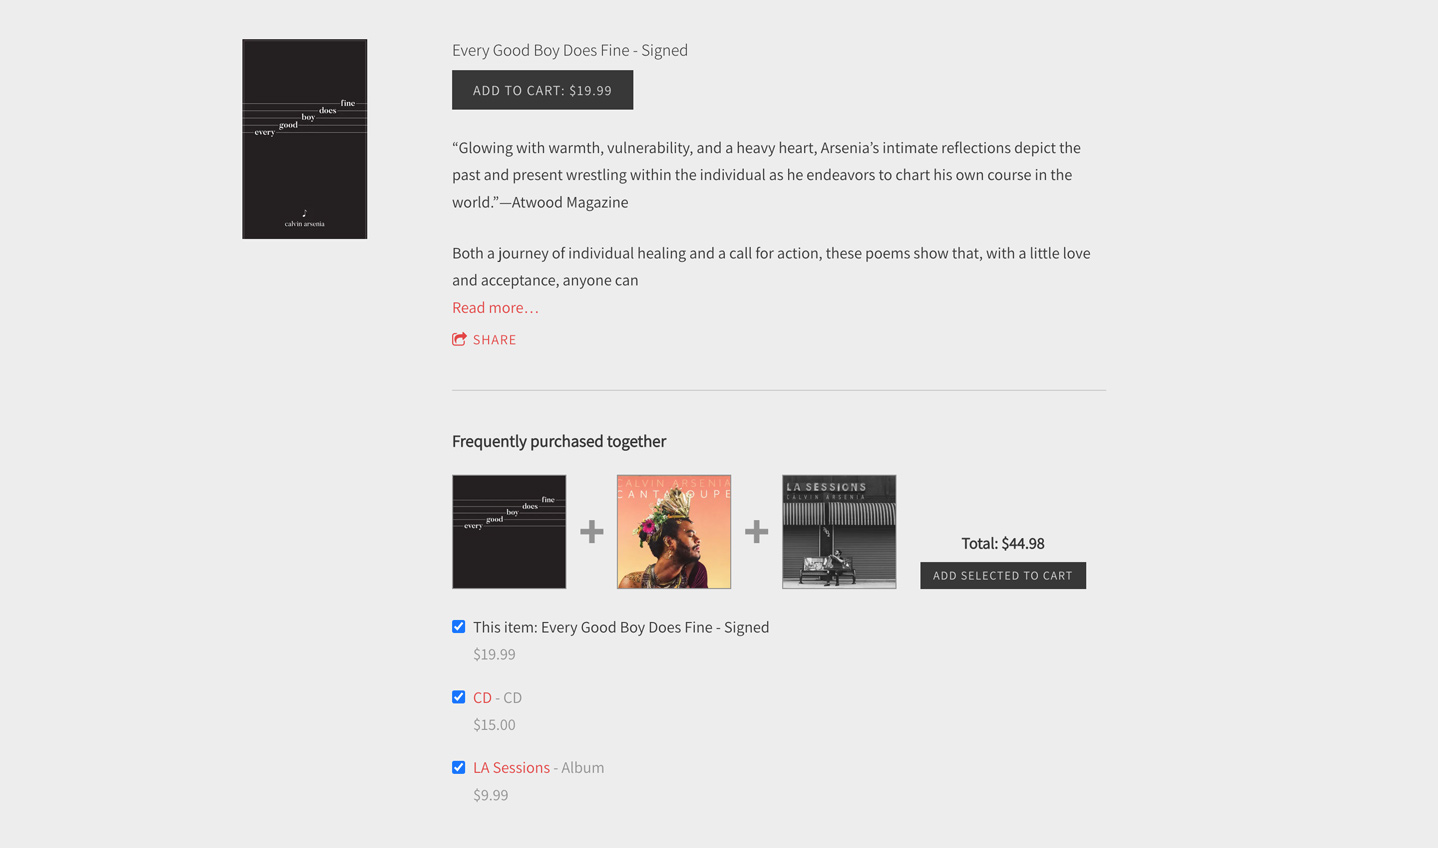
Artist store page example: Calvin Arsenia
Creating a store page on your website requires some planning and content creation, but is a great way to make money as a musician. Your store page is also a powerful tool to promote your music naturally; adding new products builds in opportunities for you to talk about your music when presenting new merchandise to your fans.
This is an important page on your website to put work into if you plan to monetize your music career online. Make sure that your store page is simple, clear, and reflects who you are as an artist. Update it regularly, keep your fans in the loop, and your efforts will pay off.
Why not share this with your friends?
Build a stunning band website and store in minutes
- Promote your music on your own unique website.
- Sell music & merch directly to your fans. Keep 100%.
- Grow your fan base with built-in marketing tools.
Free 30 day trial, no credit card needed.

Comments