

A video header is a great way to easily enhance the look of your website and grab your visitor’s attention right away. It’ll give your fans a window into who you are as an artist and also showcase your brand and your music effectively in just a few seconds.
Have you wanted to upgrade your website’s visuals for some time now but aren’t sure where to start with preparing a video? Creating videos are more than ever accessible to anyone, and these steps will walk you through everything you need to know.
Step 1: Creating your video
When it comes to producing a video for your website, hiring a professional videographer is always one option. This will ensure you get the right angle, right lighting and capture the action you’re looking for, to maximize the effect of your video.
That being said, hiring someone isn’t always in the cards for every band, especially if you’re just starting out and putting together your first artist website. So let’s take a look at the DIY alternative which will most likely be a good solution for your needs.
Smart phones! These days almost everyone either has a smartphone, or knows someone who does and could help out with getting a short video done. Even phones that are a few years old will have the ability to get 1080p or 4k video that’ll be great to use as your video header.
Don’t have any ideas on what to film for your video? Keeping in mind your header video only needs to be a few seconds long, here are some easy go-to’s you can consider:
- If it’s just you, film yourself playing your instrument. You don’t need a big fancy production here, a close up of you strumming away on your guitar or pounding on your drum kit will do just fine.
- A live shot: Get a friend to film a few seconds of your band doing its thing on stage.
- Something abstract to create a mood and ambience. Depending on your style and the genre of music, you can make use of your surroundings and get a shot of nature in a local park or action on the streets of your city for example. Using the artwork from your latest album as inspiration is a great idea here, think of what would pair nicely with it.
 You can of course also use any existing video you already have. If you have your own music videos or live shots on your site, we’ll learn how to grab a snippet for your video header next in step 2.
For ideas on other ways to use video on your website, check out 7 ways to use videos on your band website.
Create a professional website in minutes with all the music promotional features you need including a blog, mailing list, and more. Try Bandzoogle today!
Step 2: Editing your video
Here are the specs you’ll want to keep in mind when editing your video:
- Your video header must be in MP4, MOV, or AVI format
- While there isn’t a length limit on heder videos, there is a file size limit of 30mb. To give you a better idea, with a 1080p video at 30fps this will usually result in a 7-10 second video to keep it under the file size limit.
- The file should be landscape-style (longer than it is wide) to work well with most website templates.
- Your video should be at least 1920 x 1080 pixels for HD quality.
The good news is that you won’t need expensive editing software to crop and edit your video before uploading it to your website header area. If you are looking for the advanced editing features these softwares offer though, you can give the free version of Davinci Resolve a try.
If you’re on a desktop and using a Mac, iMovie is a great video editor that would be included with your softwares. If using a Windows computer, Microsoft offers some good basic free video editors such as this one.
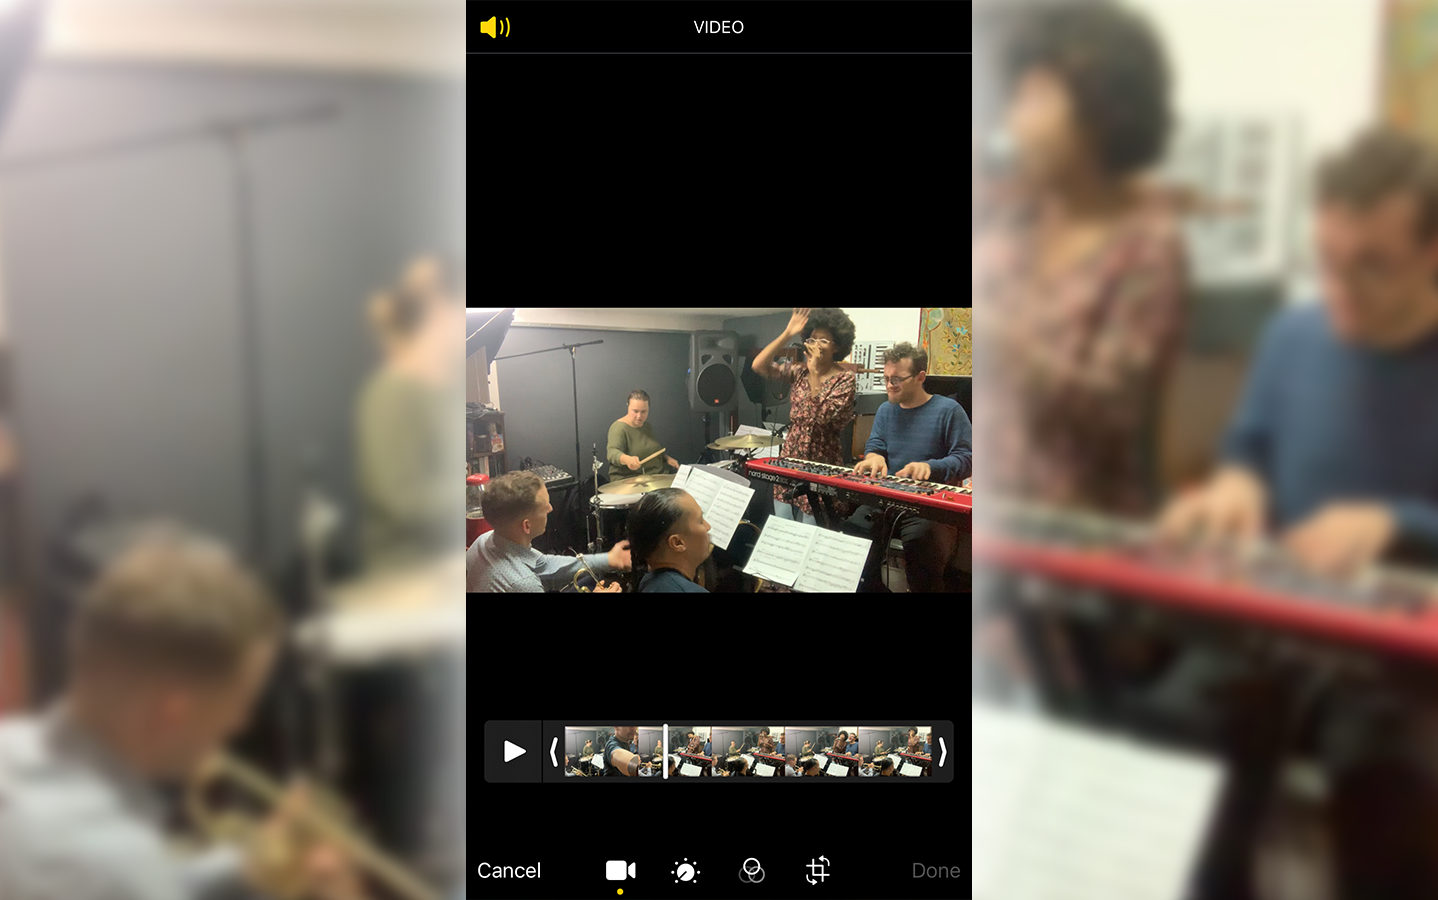
If the video was filmed on your phone, you can use the built in cropping/editing function to grab a short clip from the video and edit it down for use here in your header. Here’s how to edit and trim a video from your iPhone and how to do it from an Android device.
Take the full length video and trim it down to roughly a 5-10 second clip that you think would look great looping in your header. Export the file, then double-check the size to make sure it’s under that 30mb limit. If it's over, you may need to trim a few more seconds to make it work.
Step 3: Upload your video in your Bandzoogle account
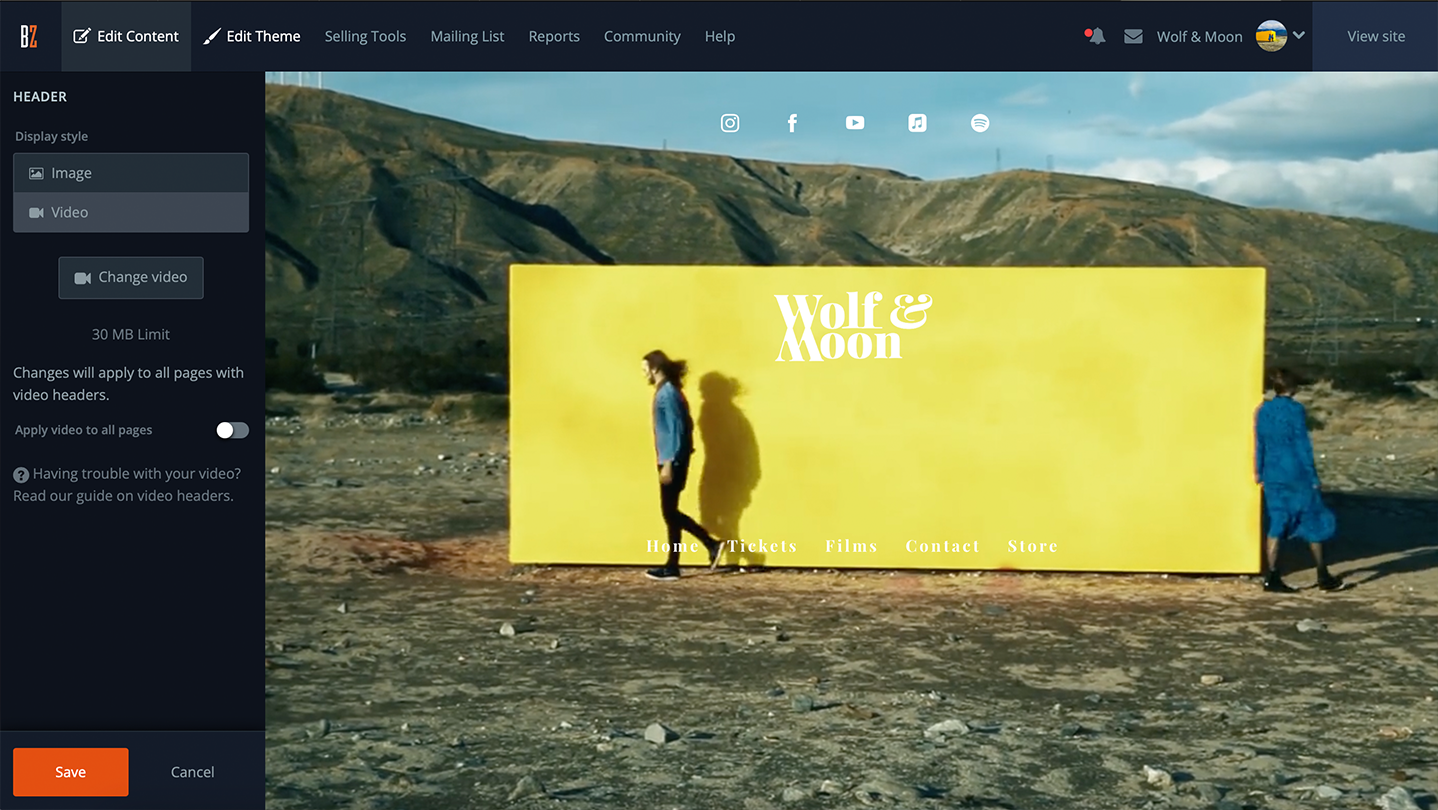
Once you have your clip ready to go, log in to your Bandzoogle account and click on the Edit Content tab. Then, click the Edit header button on the left. Click the “Video” option under ‘Display Style.’ Here you can click “Upload Video” and select the clip from your device. If you’d like the video to display on all your pages, toggle on the “Apply to all pages” slider.
 Once you have uploaded your video header, click your Edit Theme tab and then on the Tablet and Mobile view icons in the top-right to toggle between different versions of your site. Make sure the way the video displays suits your taste and isn’t being cropped a little too much. If it is, you can reduce the “Mobile Header Height” slider on the left to control how much of the video is cropped on your mobile site.
Once you’ve added your new video header, be sure to share your website url to get fans and friends checking out your new look!
Why not share this with your friends?
Build a stunning band website and store in minutes
- Promote your music on your own unique website.
- Sell music & merch directly to your fans. Keep 100%.
- Grow your fan base with built-in marketing tools.
Free 30 day trial, no credit card needed.

Comments
There are no comments yet.